mgh:breast-Introduction to Grossing
From MGH Learn Pathology
Contents
Approaching Specimens
- Fixation: At MGH, we examine unfixed breast specimens so as to appreciate the subtle variations in colors and texture that characterize pathological processes better. This approach also limits exposure to formaldehyde.
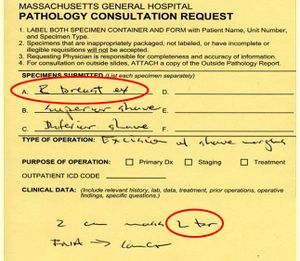
- Labeling: Check requisition and specimen labeling! Make certain that you have all the parts to the case, that each part has been accessioned correctly, and that each part has the correct anatomical designation. Errors in identifying anatomical sites, in particular laterality, occur frequently. You must double check that the designations of "RIGHT" and "LEFT" are correct. If anything about a case seems out of place, STOP AND CORRECT THE SITUATION. Check the patient's medical record or call the surgeon. Proceeding under incorrect assumptions can lead to irreparable harm.
Types of Specimens
|
 |
Measuring, Orienting, and Inking Specimens
- Measuring: Measure all three dimensions of the specimen.
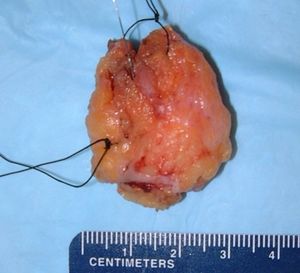
- Orienting: Surgeons orient specimens by placing sutures. Commonly, the surgeon marks the superior aspect with a short suture and the lateral margin with a long suture. Because surgeons vary in their placement of sutures, you must consult the requisition to determine the orientation of the sutures. It is critical to understand the orientation of the specimen and to ink the specimen before removing the sutures. If anything about the orientation is unclear, such as sutures of the same length or no description of the orientation of the sutures, STOP AND CORRECT THE SITUATION. Check the operative note or call the surgeon. Remember that proceeding under incorrect assumptions can lead to irreparable harm.
- What to Ink: Ink all noncosmetic specimens unless they meet all three of the following exemption criteria.
- 3 or more pieces of tissue
- All [3 or more] pieces are approximately the same size
- No sutures on any of the pieces
- How to Ink:
- Oriented excision specimens
- Determine the orientation of the long axis using the sutures as designated on the requisition.
- Ink the four surfaces according to the Oriented Excision Inking Protocol (see example below).
 |
||
- Unoriented excision biopsy specimens: Ink the entire surface black.
- Oriented shave margin specimens: Ink the surface with the suture designating the final margin black. Do not apply other colors of ink even if the surgeon has provided further orientation. Use your section code to describe the additional orientation.
- Unoriented shave margin specimen: Ink entirely black unless exempt (see above).
- Mastectomy specimens: Ink the anterior surface blue and the posterior one black.
- Cosmetic procedures (mammoplasty, mastopexy, implant revision, etc.): Do not ink.
Localizing Lesions
 |
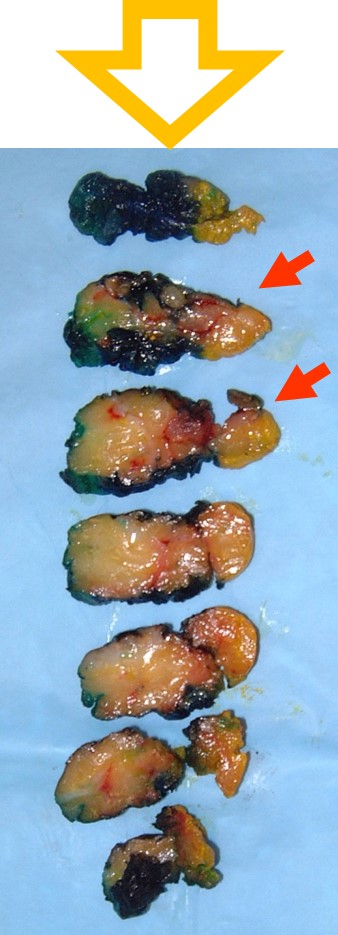 |
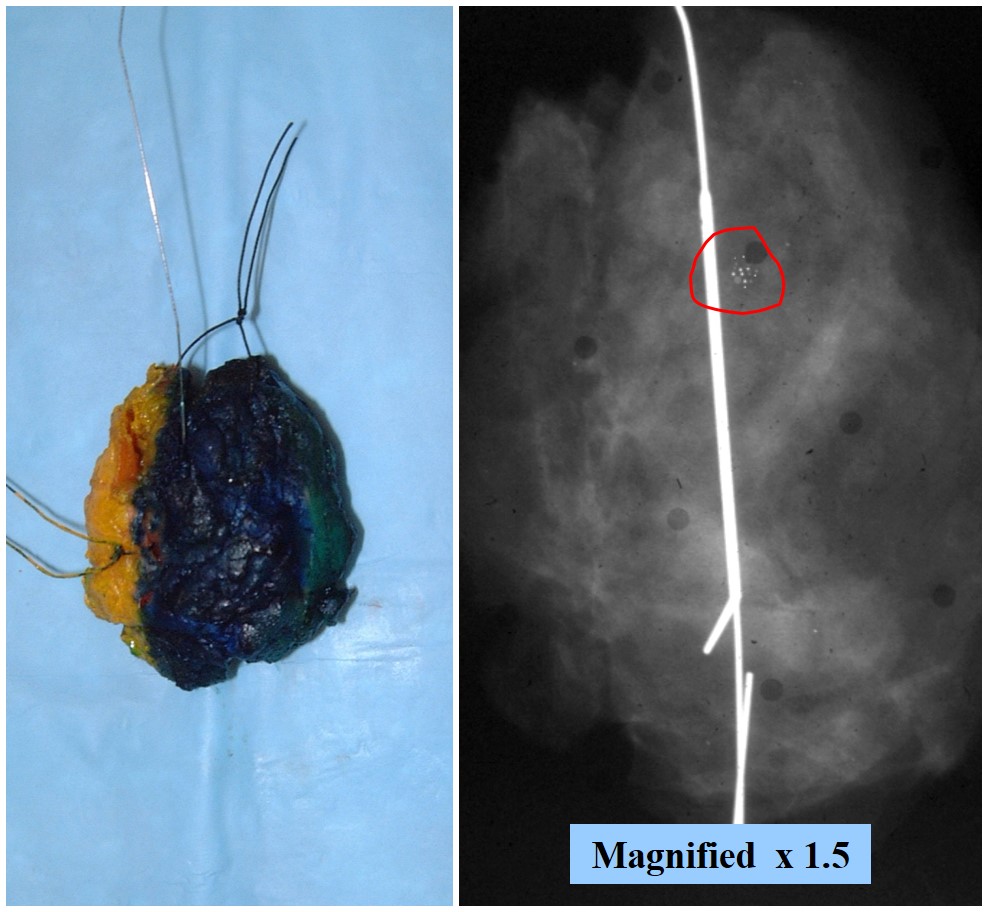
- Needle localized excision: Examine the specimen x‑ray to identify the region of concern and its relationship to the wire(s). For a bracketed localization, the region of concern will lie between the wires. For a targeted localization, the region of concern will lie near or around the wire. Leave the wire(s) in place. Ink the specimen and orient it so that it matches the image on the x‑ray. Use the position of the target on the x‑ray to approximate the position of the lesion in the specimen. For example, in the x‑ray to the right, the calcifications lie somewhat above the middle of the specimen. Once you know where to look for the lesion in the specimen, remove the localization wire(s) and slice the specimen. Look closely in the slices that correspond with the target. In the example, the calcifications should lie in the second or third slice.
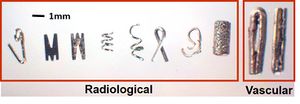
- Mastectomy Specimens: Study the radiology reports for all mastectomy specimens. Using the report, locate the lesions of concern and make note of the presence of clips. Do not confuse marking clips left by radiologists with vascular clips left by surgeons.
- Prophylactic specimens: These specimens may not have regions of clinical concern. Examine them carefully for abnormalities and be ready to discuss the imaging findings with the staff pathologist.
- Cut tissue in 0.2 cm slices perpendicular to the long axis of the specimen.
- Carefully examine the area of radiographic interest for lesions and marking clips.
- Remember that many specimens contain more than one lesion and that a careful examination of the whole specimen may yield findings unseen on imaging.
Describing and Measuring Lesions
- To Start: Record the basic information: the patient identifiers, specimen labeling, and the type and size of specimen.
- Dictation Template: Examine the specimens carefully. Use the dictation templates verbatim as much as possible. They will help you to remember to dictate the critical information such as:
- Patient identifiers
- Type and size of specimen
- The presence of wires
- Characteristics of relavant structures
- Orientation of the long axis
- The colors of the inks applied to the margins
- Lesions: Many specimens contain more than one lesion. For each, describe its size, shape, color, consistency, and relationships to the margins of the specimen.
- Determining Size: Carefully measure and record all three dimensions of every lesion. It is especially important to be precise near staging breakpoints as they determine therapy. The AJCC system for staging breast cancers recognizes the following categories:
- 0.1 - 0.5 cm = T1a
- >0.5 - 1.0 cm = T1b
- >1.0 - 2.0 cm = T1c
- >2.0 - 5.0 cm = T2
- > 5 cm = T3
- Distance to Margins: Record the distance of each mass to all six margins.
- Relationships: Record the distance and spatial relationship between seperate lesions and between lesions and normal structures.
What Sections to take
- Excision specimens with a mass: Take 4-5 sections of the mass including all margins, radial sections to each end of the specimen (end margins), and 1 section of uninvolved tissue. Submit all margins radially. End margins far from the mass can be representative (only submit 1 block).
- Excision specimens without a mass: Take 10 sections emphasizing suspicious or abnormal areas and fibrous tissue. Include a representative radial section to each end margin (long axis) among these ten sections.
- Prophylactic mastectomy: Take 10 sections emphasizing suspicious or abnormal areas and fibrous tissue. Include representative anterior and posterior margins among these ten sections. If the surgeon has marked the subareolar margin with a suture or a clip, take one en face margin of the marked region.
- Specimens with microinvasive carcinoma, ductal carcinoma in-situ, lobular neoplasia, atypical ductal hyperplasia, or flat epithelial atypia ONLY: Take 10 sections including biopsy site and all margins. Take 2 extra sections away from the biopsy site for mastectomy specimens.
- Final / shave margin specimens: Submit entirely or 10 sections, whichever is fewer.
- Uncommon specimens: If the specimen type is not covered by a flowsheet, consult with a staff pathologist before dissection.
Approach to Lymph Nodes
- Types of Specimens:
- Axillary Sampling: Removal of easily found low axillary lymph nodes. This procedure has largely been replaced by sentinel lymph node biopsy.
- Axillary Dissection: Removal of all axillary lymph nodes. The specimen usually contains at least 10 lymph nodes and sometimes 20-30 lymph nodes.
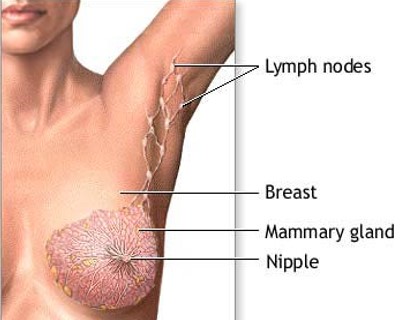
- Sentinel lymph node(s) (SLN) Mapping: Removal of the first lymph node(s) to receive lymphatic drainage as revealed by injection of vital dyes or radioactive molecules into the breast. This is the procedure of choice for patients with clinically negative axillary nodes. These specimens require immunohistochemical stains and additional levels. Therefore, one must verify that sentinel lymph nodes have been accessioned correctly.
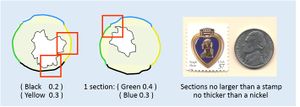
- Submit grossly negative lymph nodes entirely: Submit small nodes entirely, and cut larger ones into 2 mm thick sections (or thinner!) parallel to the long axis. Large nodes may require several cassettes. If you bisect two lymph nodes and place them in the same cassette, you must first ink one of the nodes.
- Pay careful attention to sentinel lymph nodes: Confirm that sentinel nodes were accessioned correctly (you should receive 3 blue cassettes with properly accessioned sentinel lymph node specimens). Section them parallel to the long axis into slices no greater than 2 mm thick. It is critical for staging that sentinel lymph nodes are no thicker than 2 mm. Submit the entire specimen, including the residual fat. Sentinel lymph node cassettes automatically receive one H&E and one cytokeratin AE1.3/Cam5.2 level (cut 200 microns deeper into the block). Because this is not a standard depth level, the cassette needs to be marked (see below) to alert the histotechnologist. Please delete the IHC stain for cassettes with only residual fat or in cases where a frozen section demonstrated a macrometastasis.
- For each sentinel node block:
- Place a piece of ribbon in the cassette (color does not matter)
- Write “SN” on the side
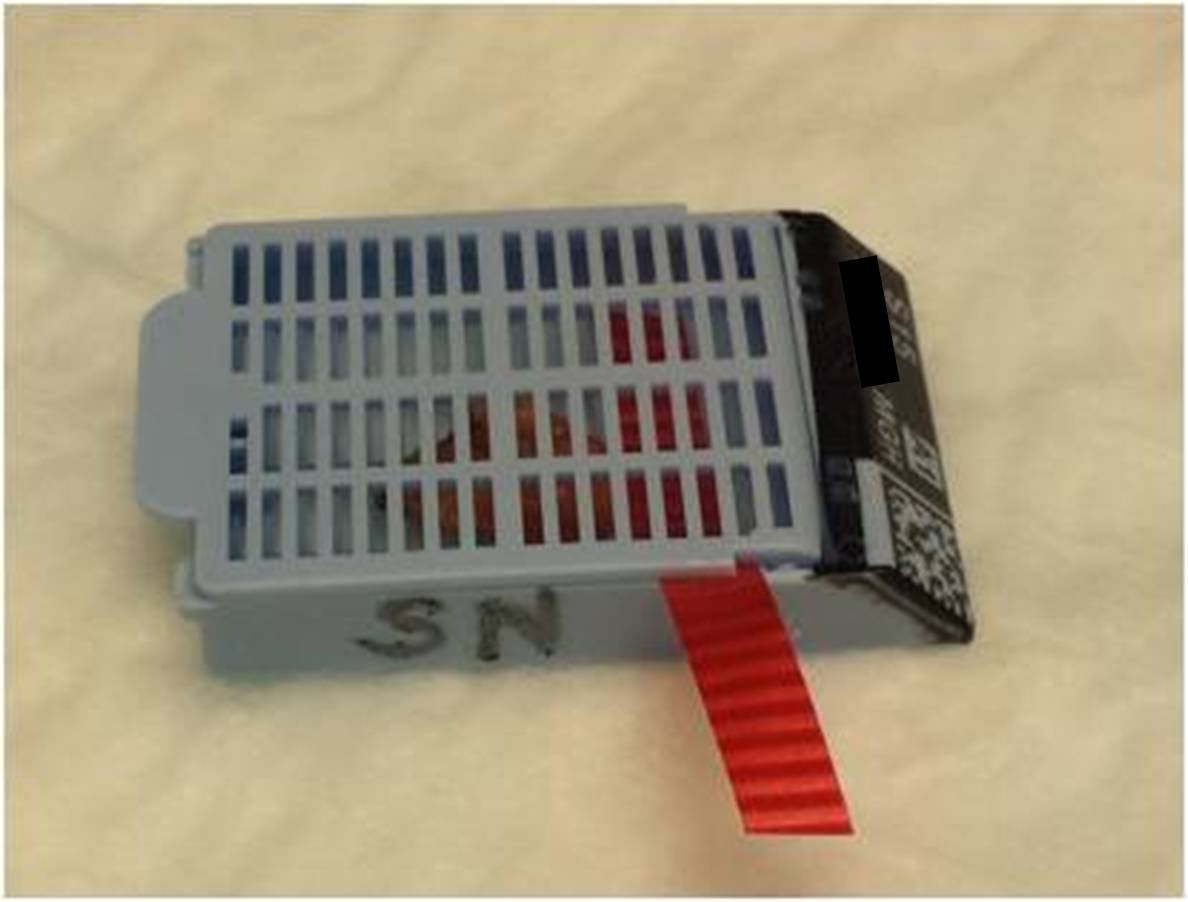 |
||
Fixation
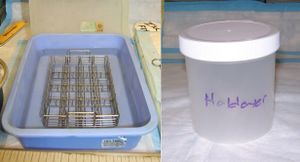
- Unfixed specimens: For unfixed specimens, place cassettes in the special tray on the breast grossing bench. In the (hopefully) rare circumstance when you take sections after 6:00 pm, place the cassettes in a Holdover jar with formalin and keep it on the bench overnight to ensure proper fixation.
- Already fixed specimens: These cassettes can be submitted in any tray with sufficient room.
- Core biopsy specimens: Place these in the smalls tray at the technologists' workstation.
